About this Timber Truss
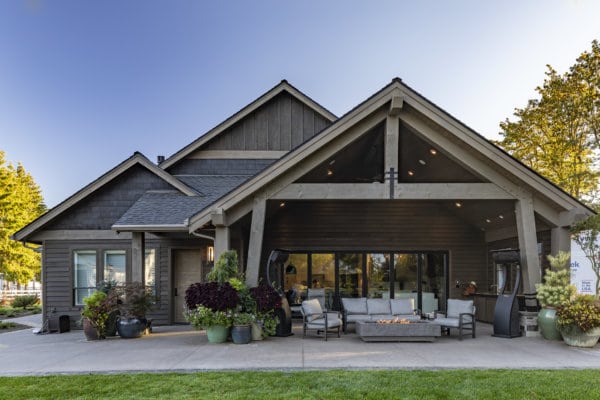
Before we get into the characteristics of scissor trusses, I want to call your attention to the Mystery of the Disappearing Scissor Truss Massing. I first became aware of this problem, working with entries or back patios where the builder wanted to use decorative timbers underneath standard pre-manufactured scissor trusses to simplify logistics or save money.

It was very puzzling. No matter what timber design I would try, the massing would always feel wonky. I finally figured out that it was the imbalance of the scissor gable end truss above.
This was messing with the timber balance and creating the “crooked smile” I was struggling to
correct. Because the center of the GE scissor truss has most of the mass and the narrow bottom ends has virtually no mass, it creates a disappearing effect. With this application of scissor trusses above a porch or patio, the imbalance of scissor truss geometry is acutely visible.
The fix is to counterbalance the imbalance with more timber mass at the narrow ends of the pre-manufactured truss. There are various ways to achieve this, but the most elegant and simple fix is to install tapered timber rafters underneath the GE scissor truss. Narrow the top and fat at the bottom… and Voila! Problem fixed! You might be tempted to save time and just install rafters without the taper. Don’t do it. The imbalance will remain unchanged.
If you were to remove the pre-manufactured trusses and use a timber truss, this problem of disappearing mass is much harder to spot. Bigger timber top and bottom chords coming together at the bottom of the truss results in substantially more mass. And the open truss effect at the center has much less visual mass than does a closed gable end scissor truss. All this combined with the distracting effect of beautiful wood, interlocking pieces and intriguing joinery, will generally solve the case of disappearing mass associated with scissor truss geometry.
Another challenge unique to timber scissor trusses used in a free standing application where lateral bracing is required, is the difficulty getting knee braces or diagonal support beams to look good. Many people end up using concrete, stone or brick pillars to address lateral strength in situations like this. Just keep it in mind as you choose the right timber truss style for your situation.
Now, let’s get into the characteristics of this truss which can be modified in many ways to good effect. In general the timber scissor truss compliments Euro Rustic and Modern styles the best.
And even though a person attracted to the pragmatic Craftsman style would likely be attracted to the scissor timber truss, the shallow roof slopes consistent with Craftsman Style do not work well. Especially for bigger truss spans. And in general with trusses, the steeper the roof slope is, the stronger the truss. It is all about tension loading.
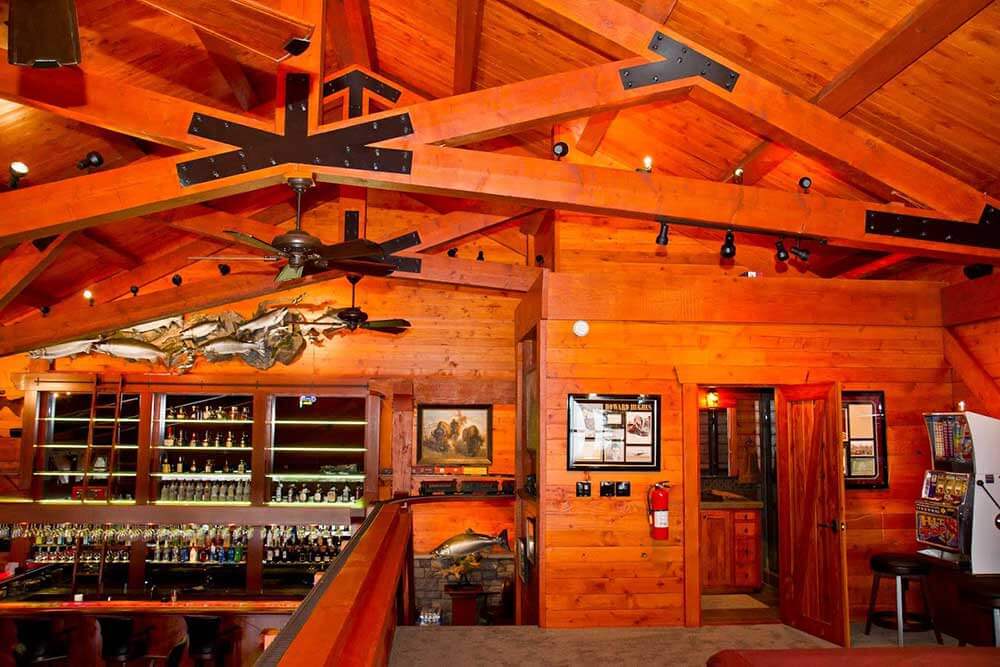
Speaking of pragmatic, using a timber scissor truss is a practical way to achieve a higher ceiling. Today you might see this over a sport court where the extra height allows for high flying balls, while keeping the roof eaves lower for better weather protection. In some cases it simply gives more head room. Back in the old days, the timber scissor truss was often used to give cathedral ceilings an even higher feel.
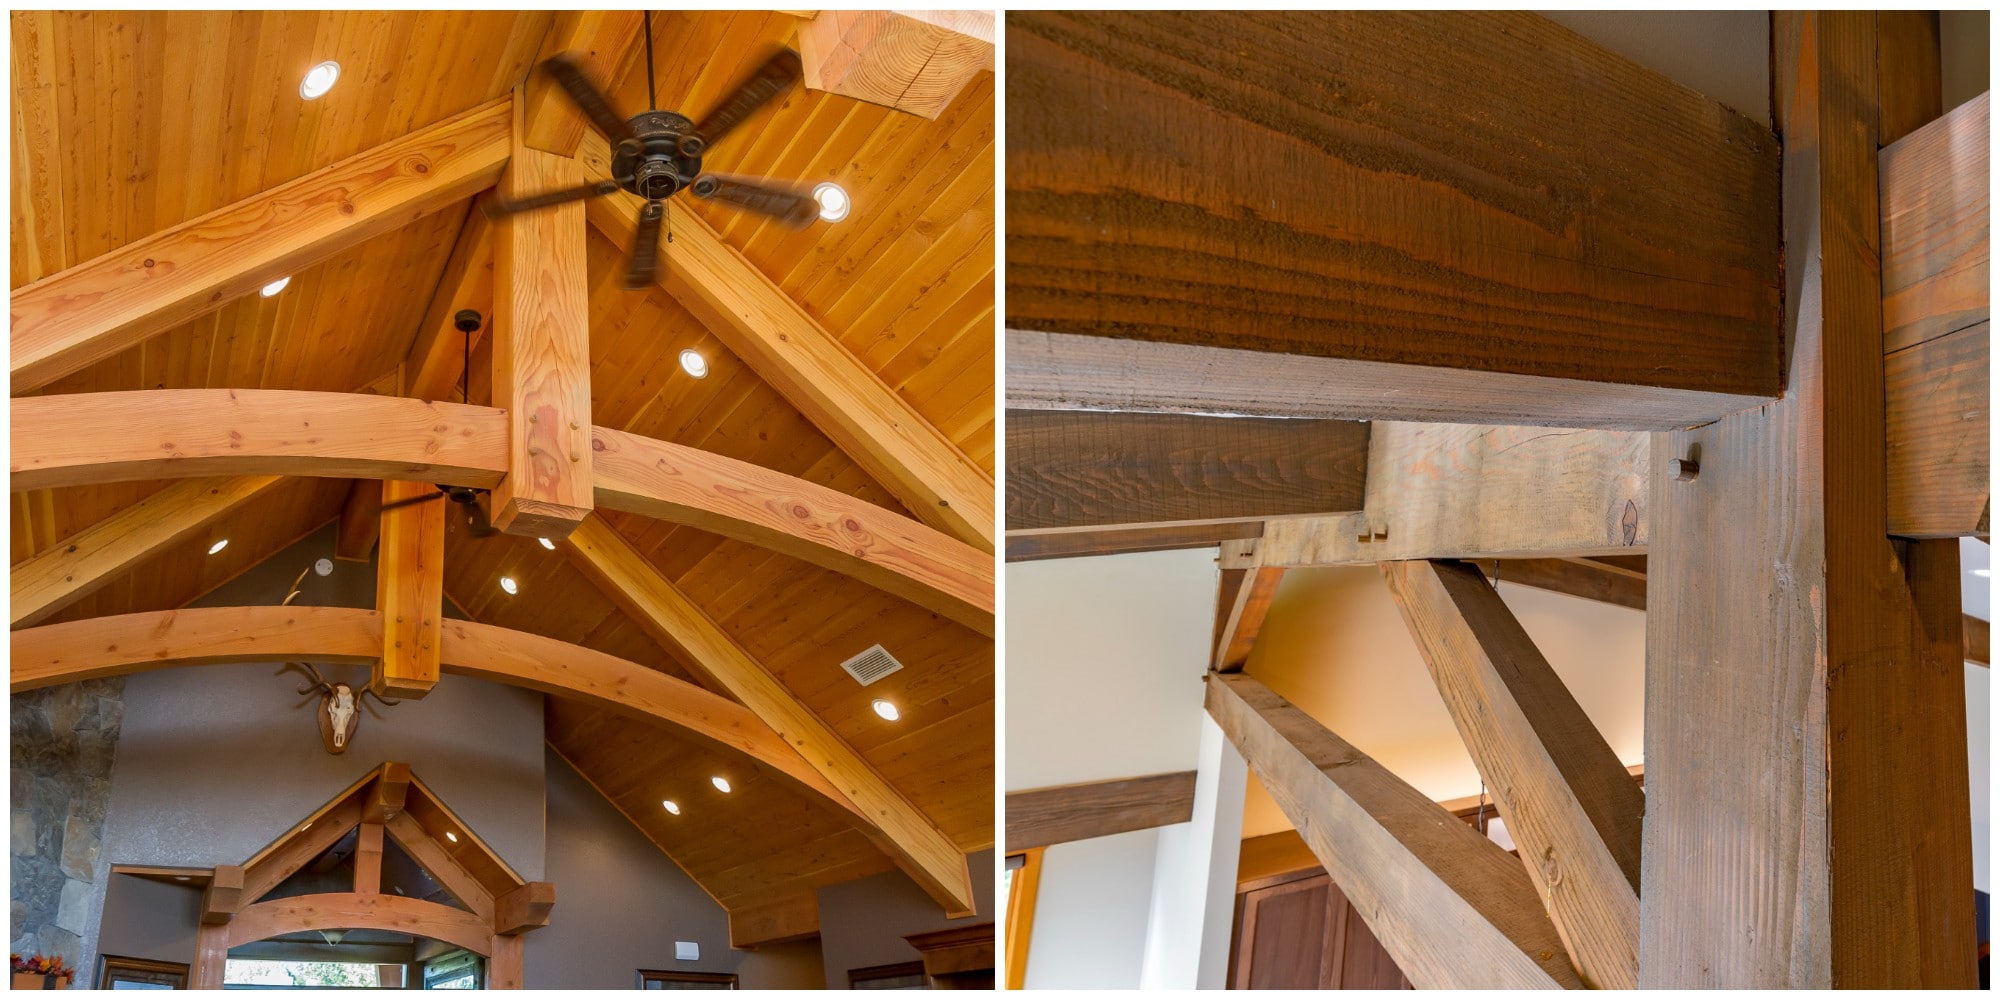
You can see an example of a 50×39 timber scissor truss we crafted a while back which gave necessary head room and a higher feel:
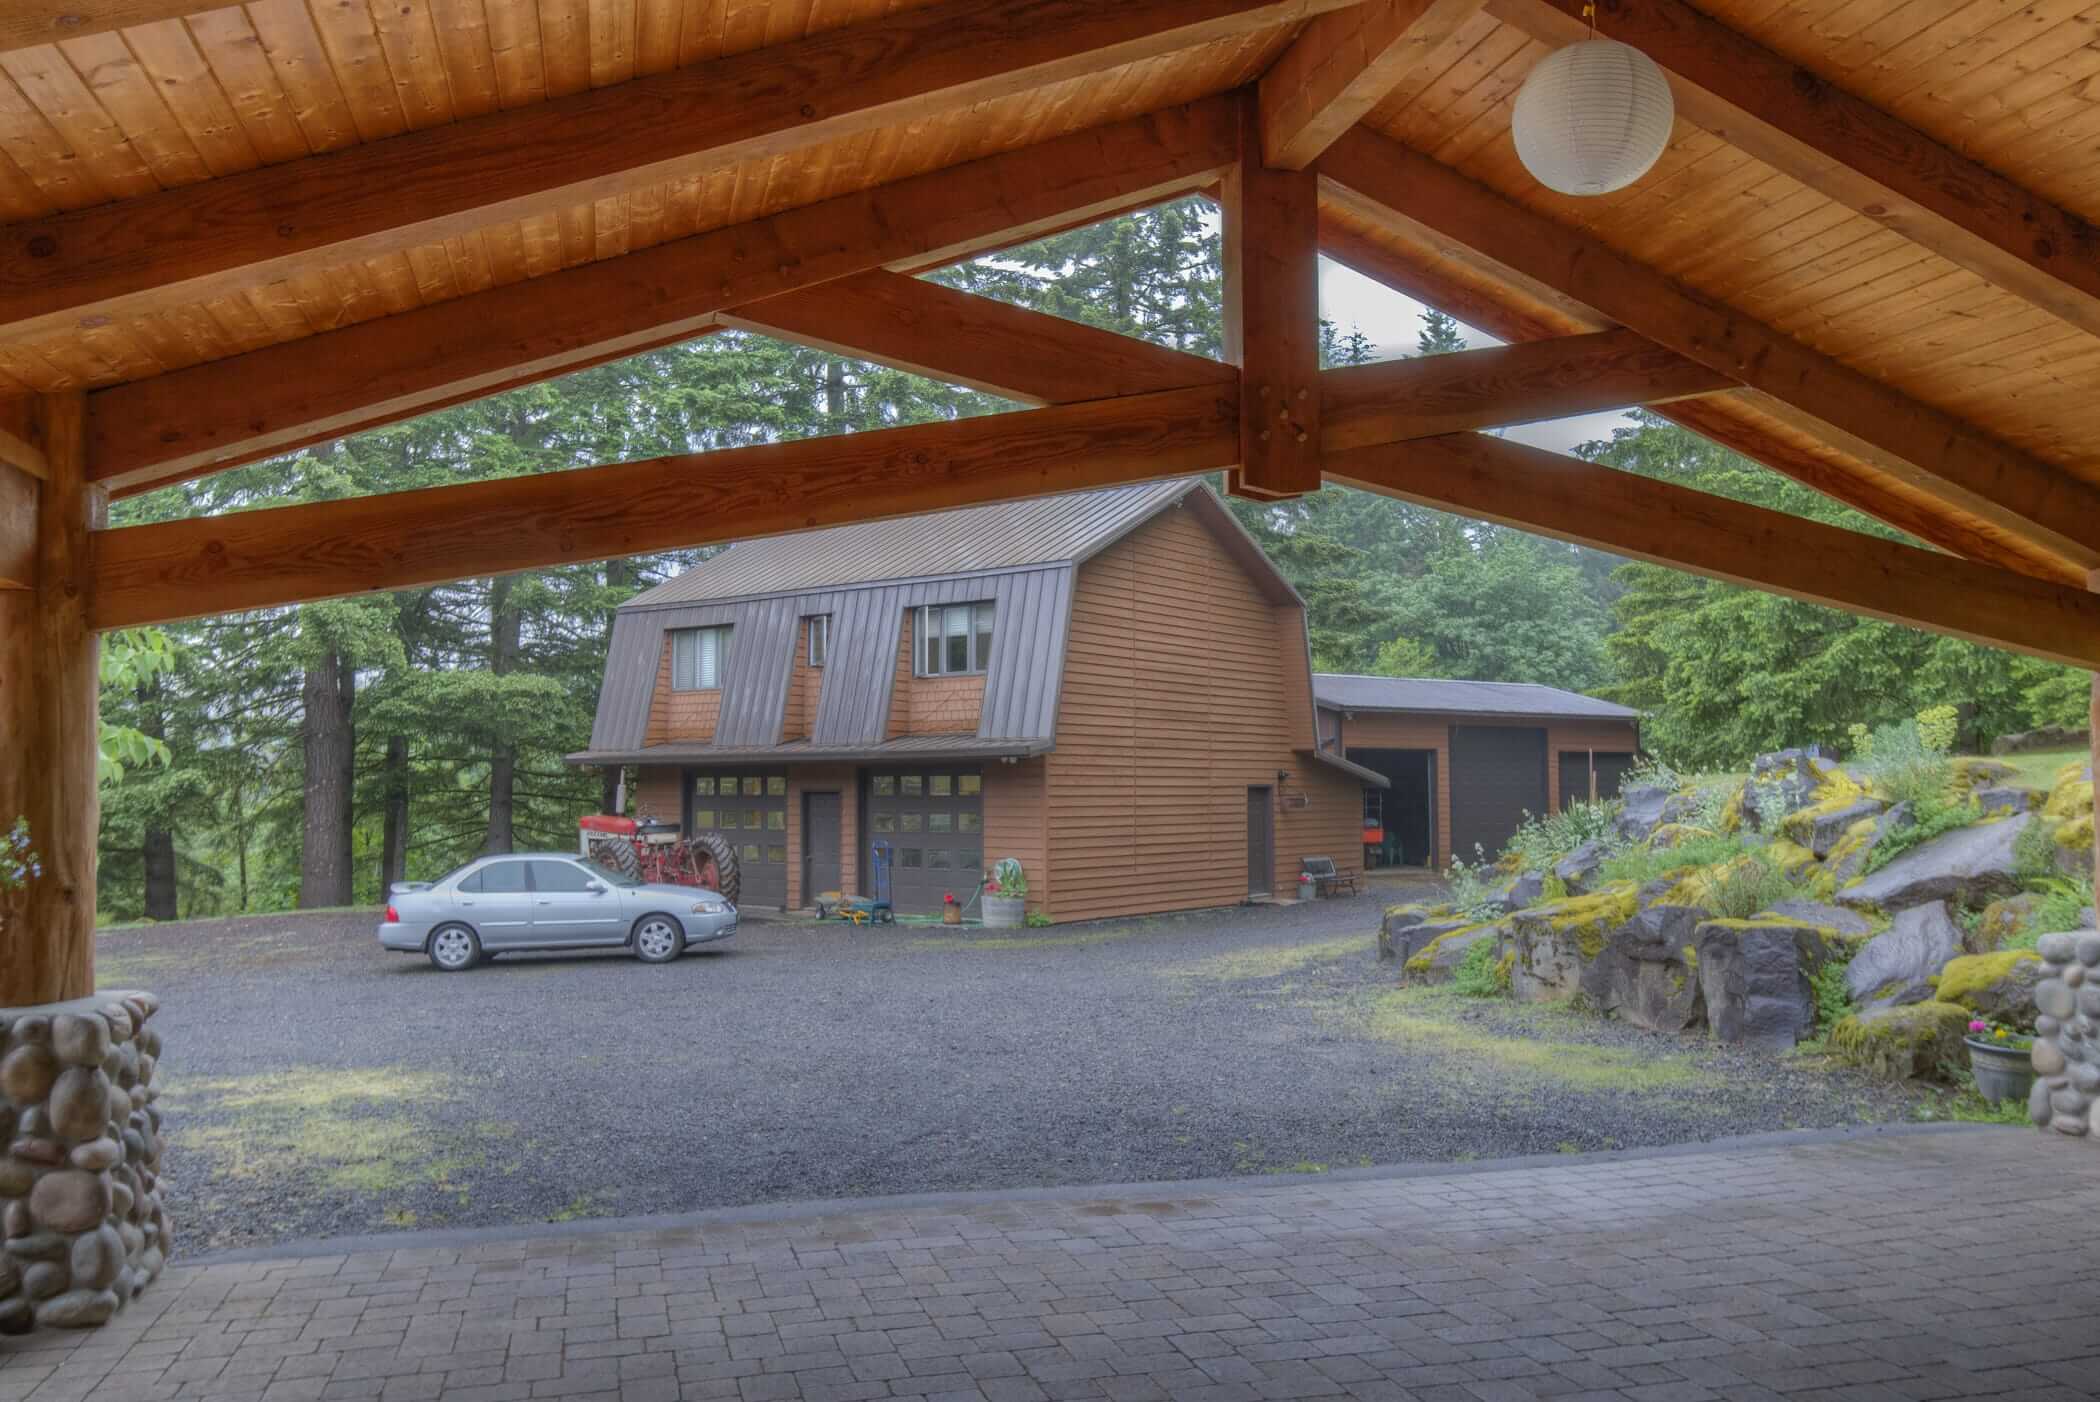
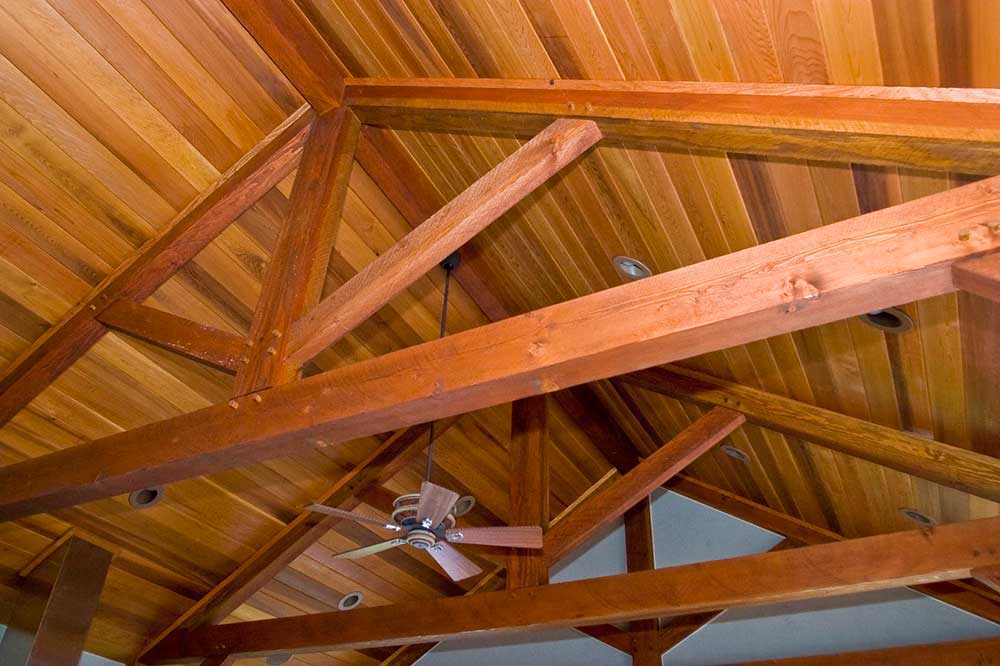
The peak was offset because of the different wall heights. You will notice metal plates and bolts used to address the substantial tension loads. They could have been hidden, but the owner like the strong look of the big black steel plates. If you want to avoid using any metal, double bottom chords sandwiching the top chords give you the most wood to work with for addressing the tension loads. Double cop top cords might be used in a lodge where heavy snow loads are expected. Both variations give a stout lodge look and feel. Another option you have at your disposal is to integrate arches into your timber scissor truss.
There are various ways to accomplish this, but the most popular timber scissor truss we manufacture is often called an arched king truss. (King truss with arched bottom chords.) In fact, so many people, professionals and lay people alike, use the technically incorrect name of Arched King Truss, that we use the same name with our communication! Let Webster fight that battle! (See our description of King Trusses. Arched bottom chords are listed as an option to add elegance.) But structural engineering addresses the tension loading the same, whether the bottom chords are arched or straight. But however you refer to this timber truss, it opens a plethora of ways you can influence the look and feel of your remodel, home, office, etc.
Another unique option is to mix the Queen truss concept and arched beams with the scissors truss. Basically you start with a scissor truss and then add Queen post about 1/4 span from each end. (But don’t just run with 25% of total span! Always align exact location by eye.) One can then add an arch beam starting higher up on the Queen post, connecting with the center king post. In this case, a wrought iron tie-rod would need to be added to the bottom of the Queen posts to achieve adequate resistance to tension loading. This modified timber scissor truss is a very unique truss and feels like an elegant throw-back to castle days.
