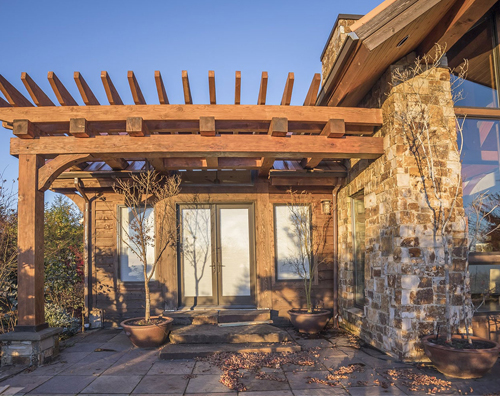
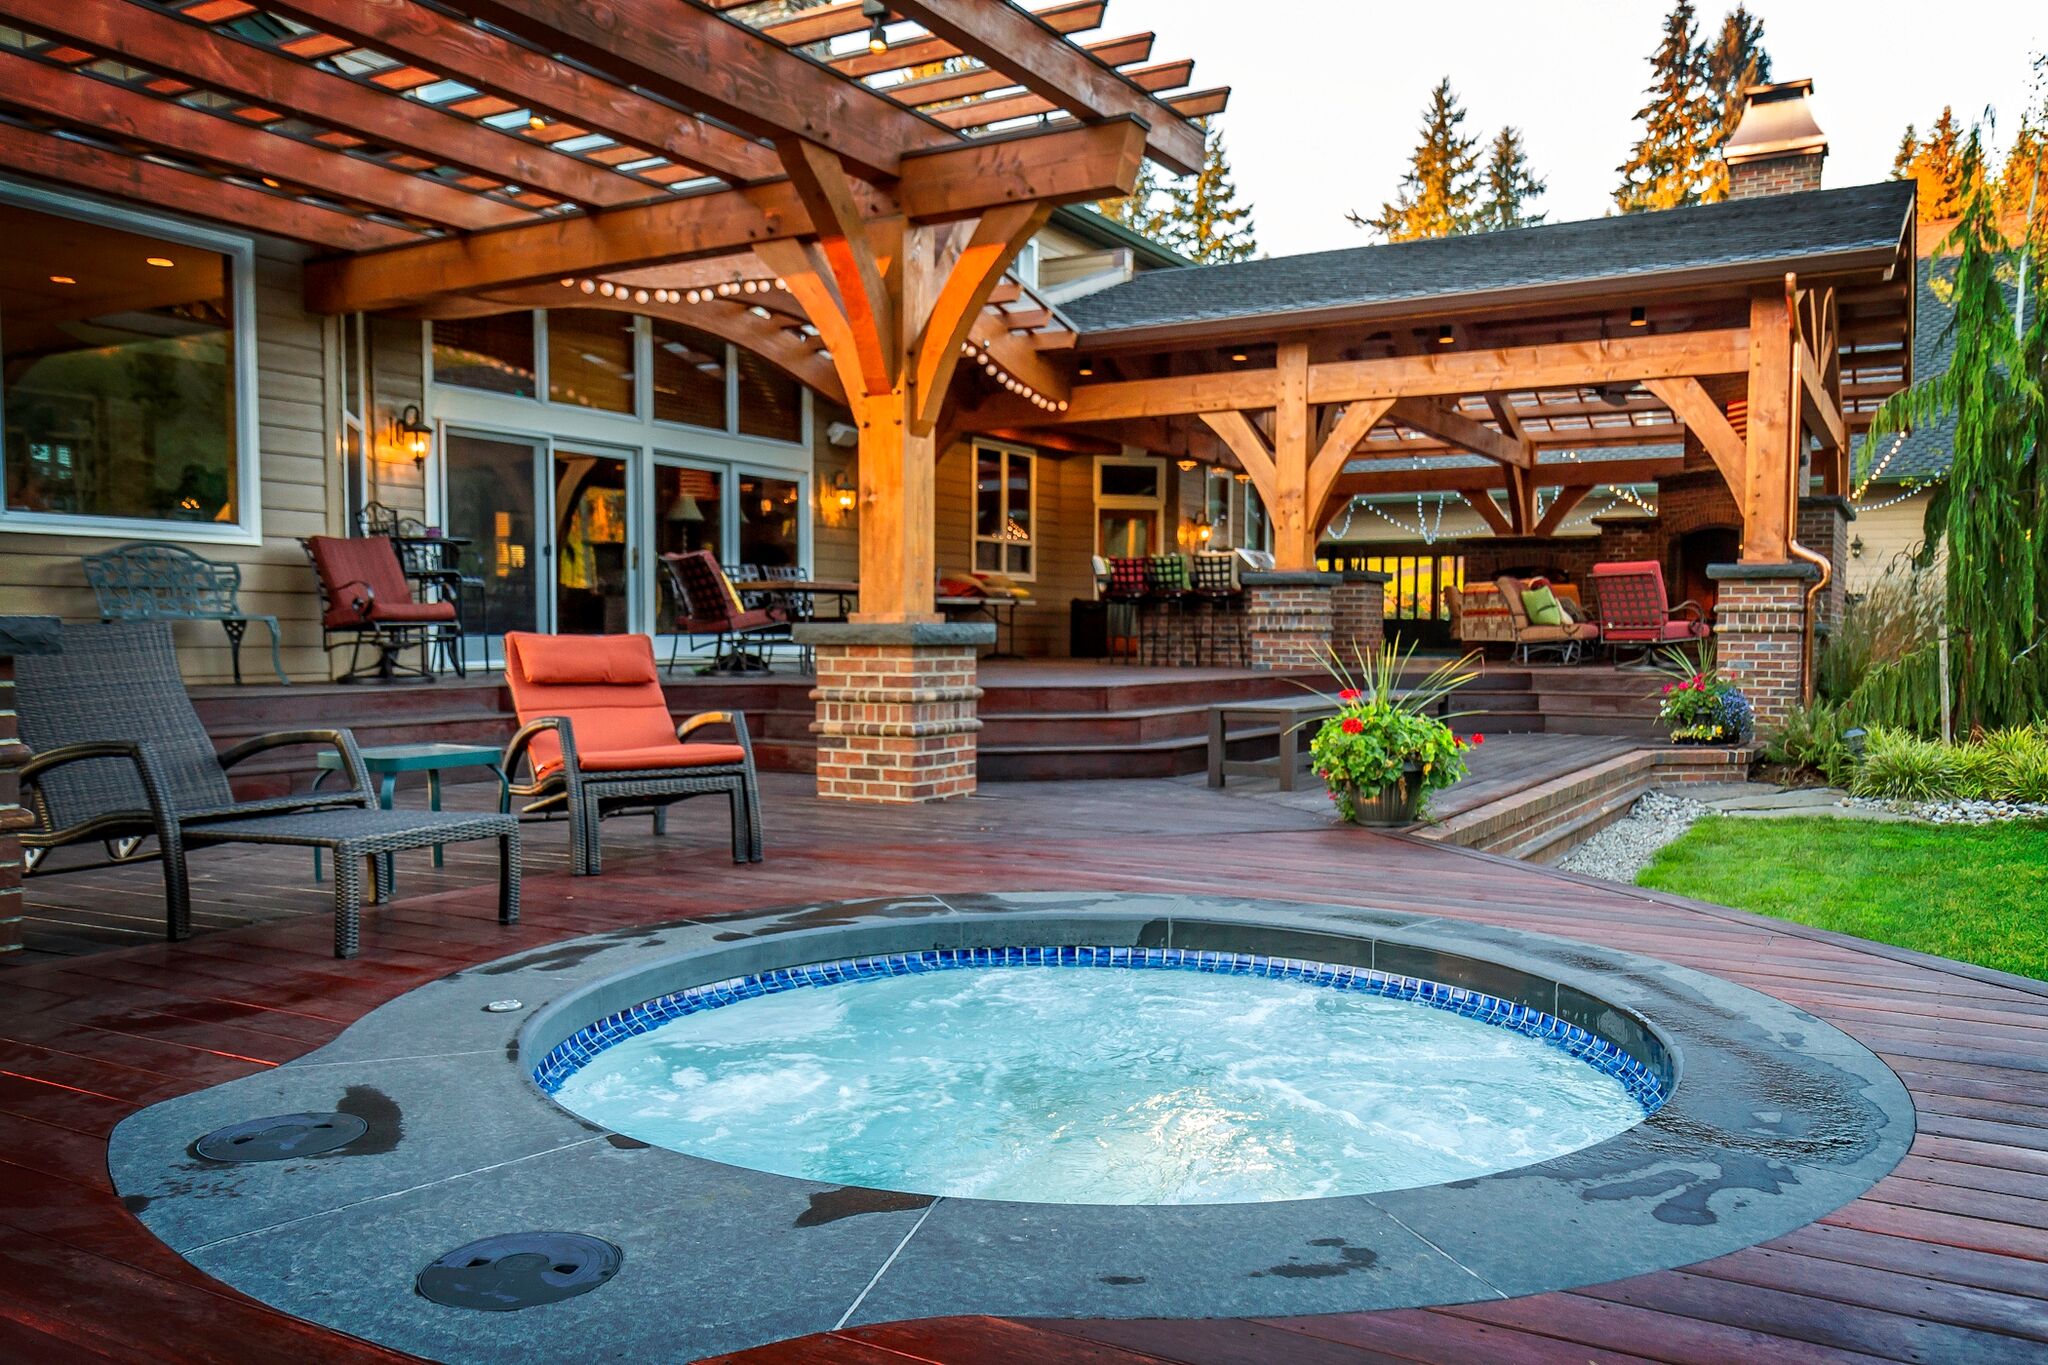
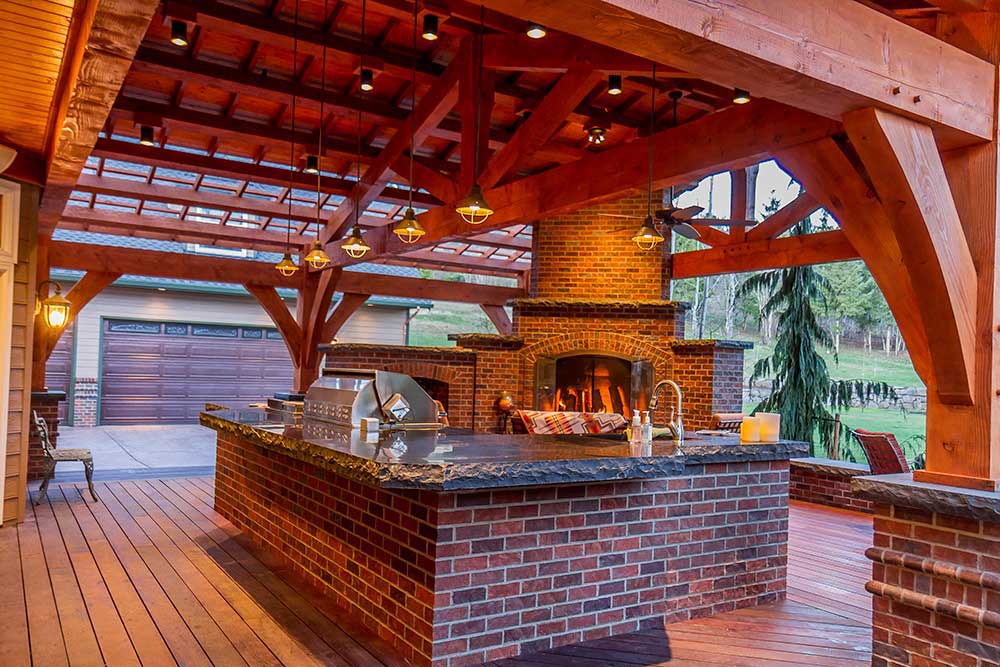
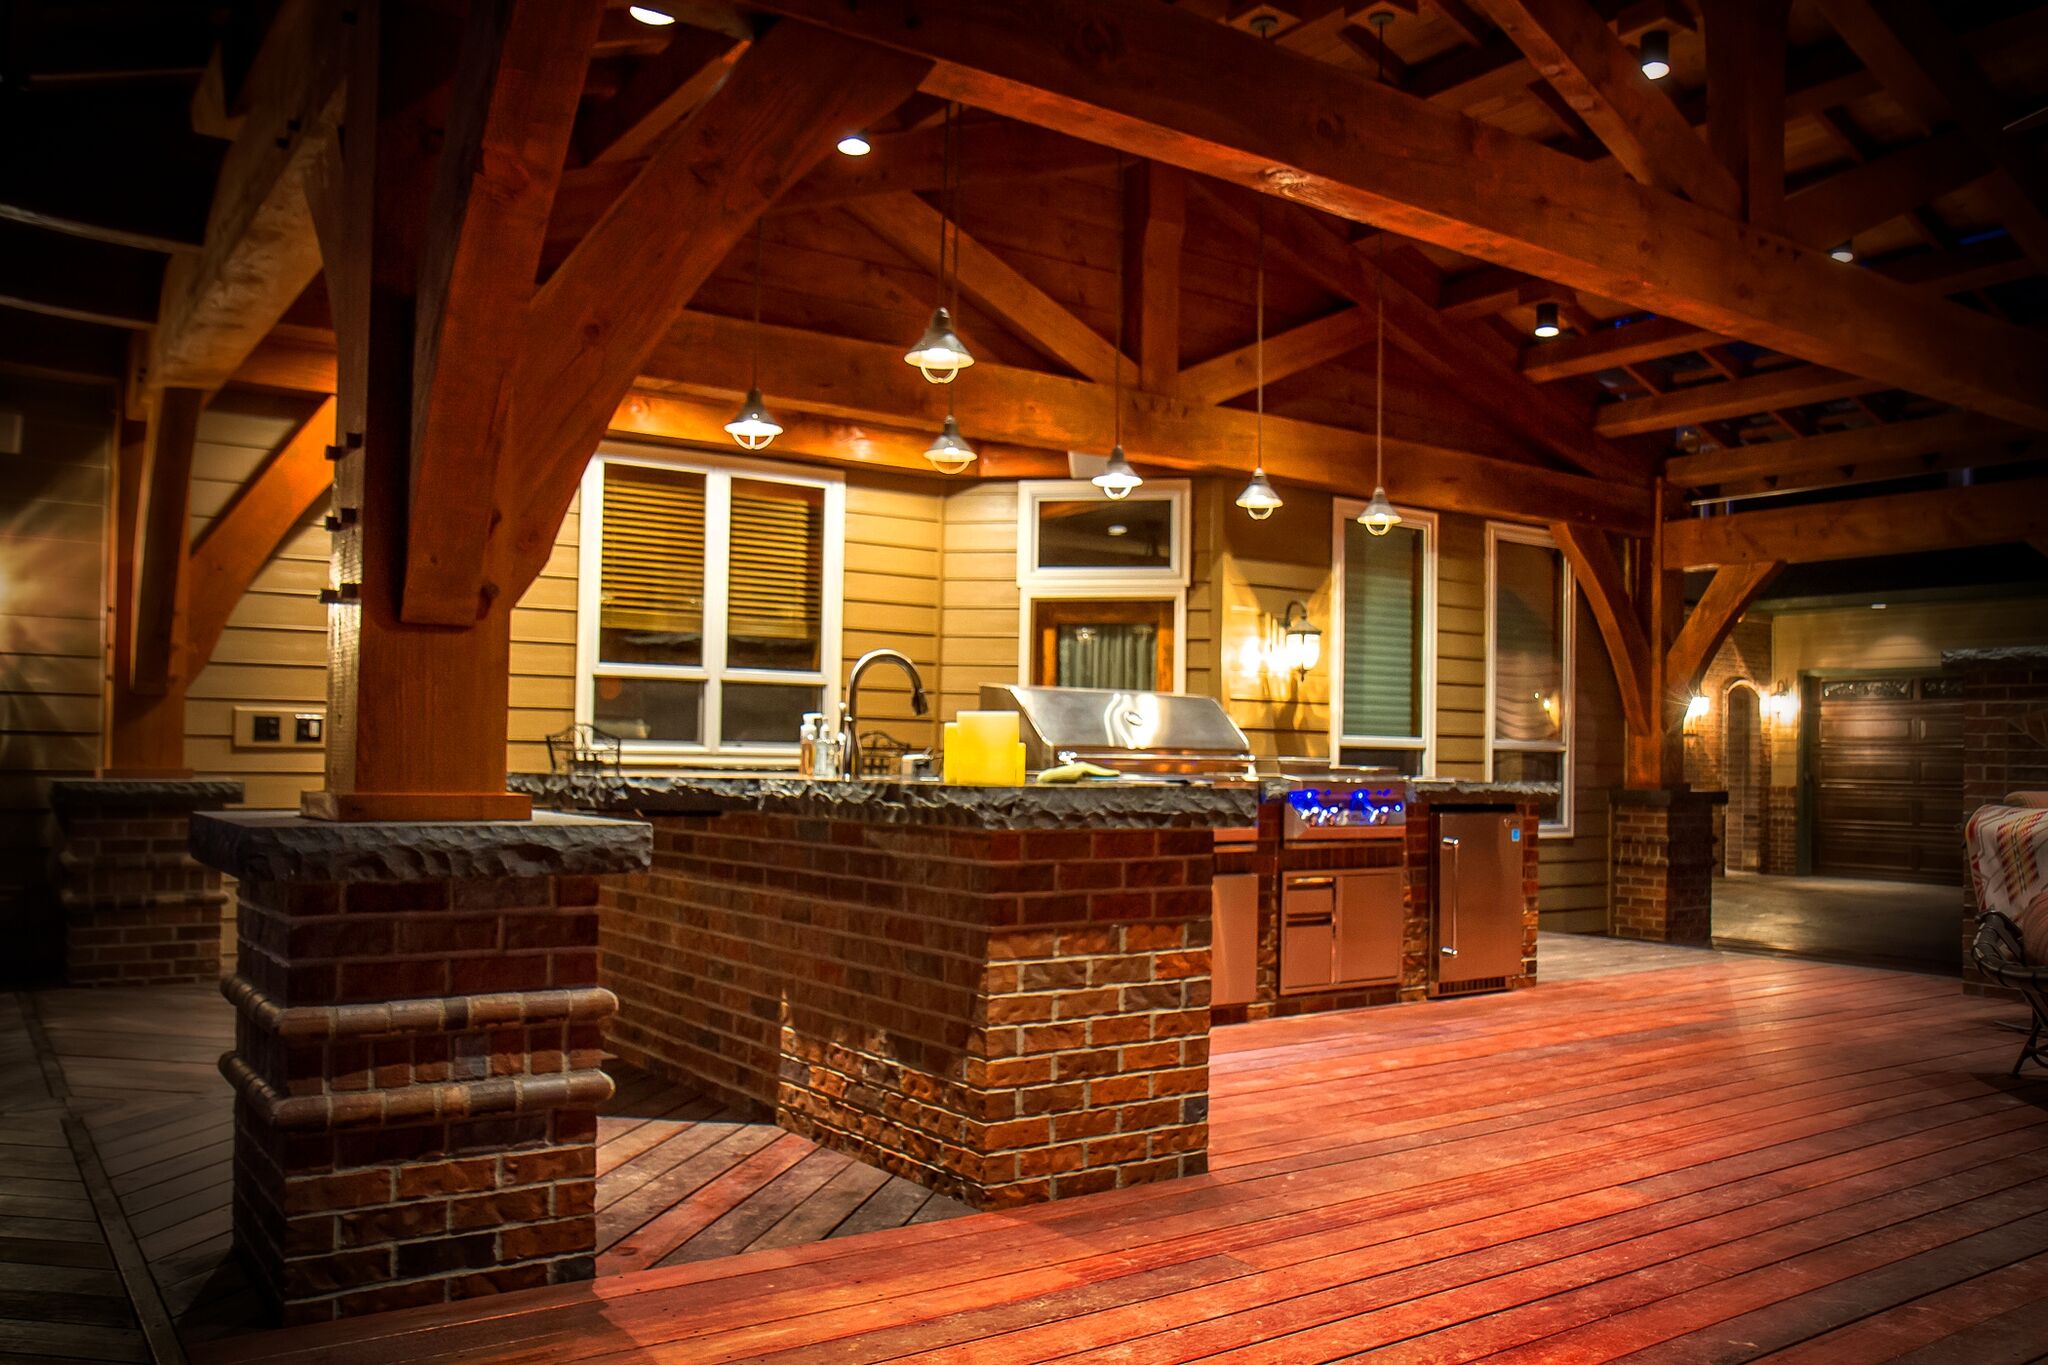
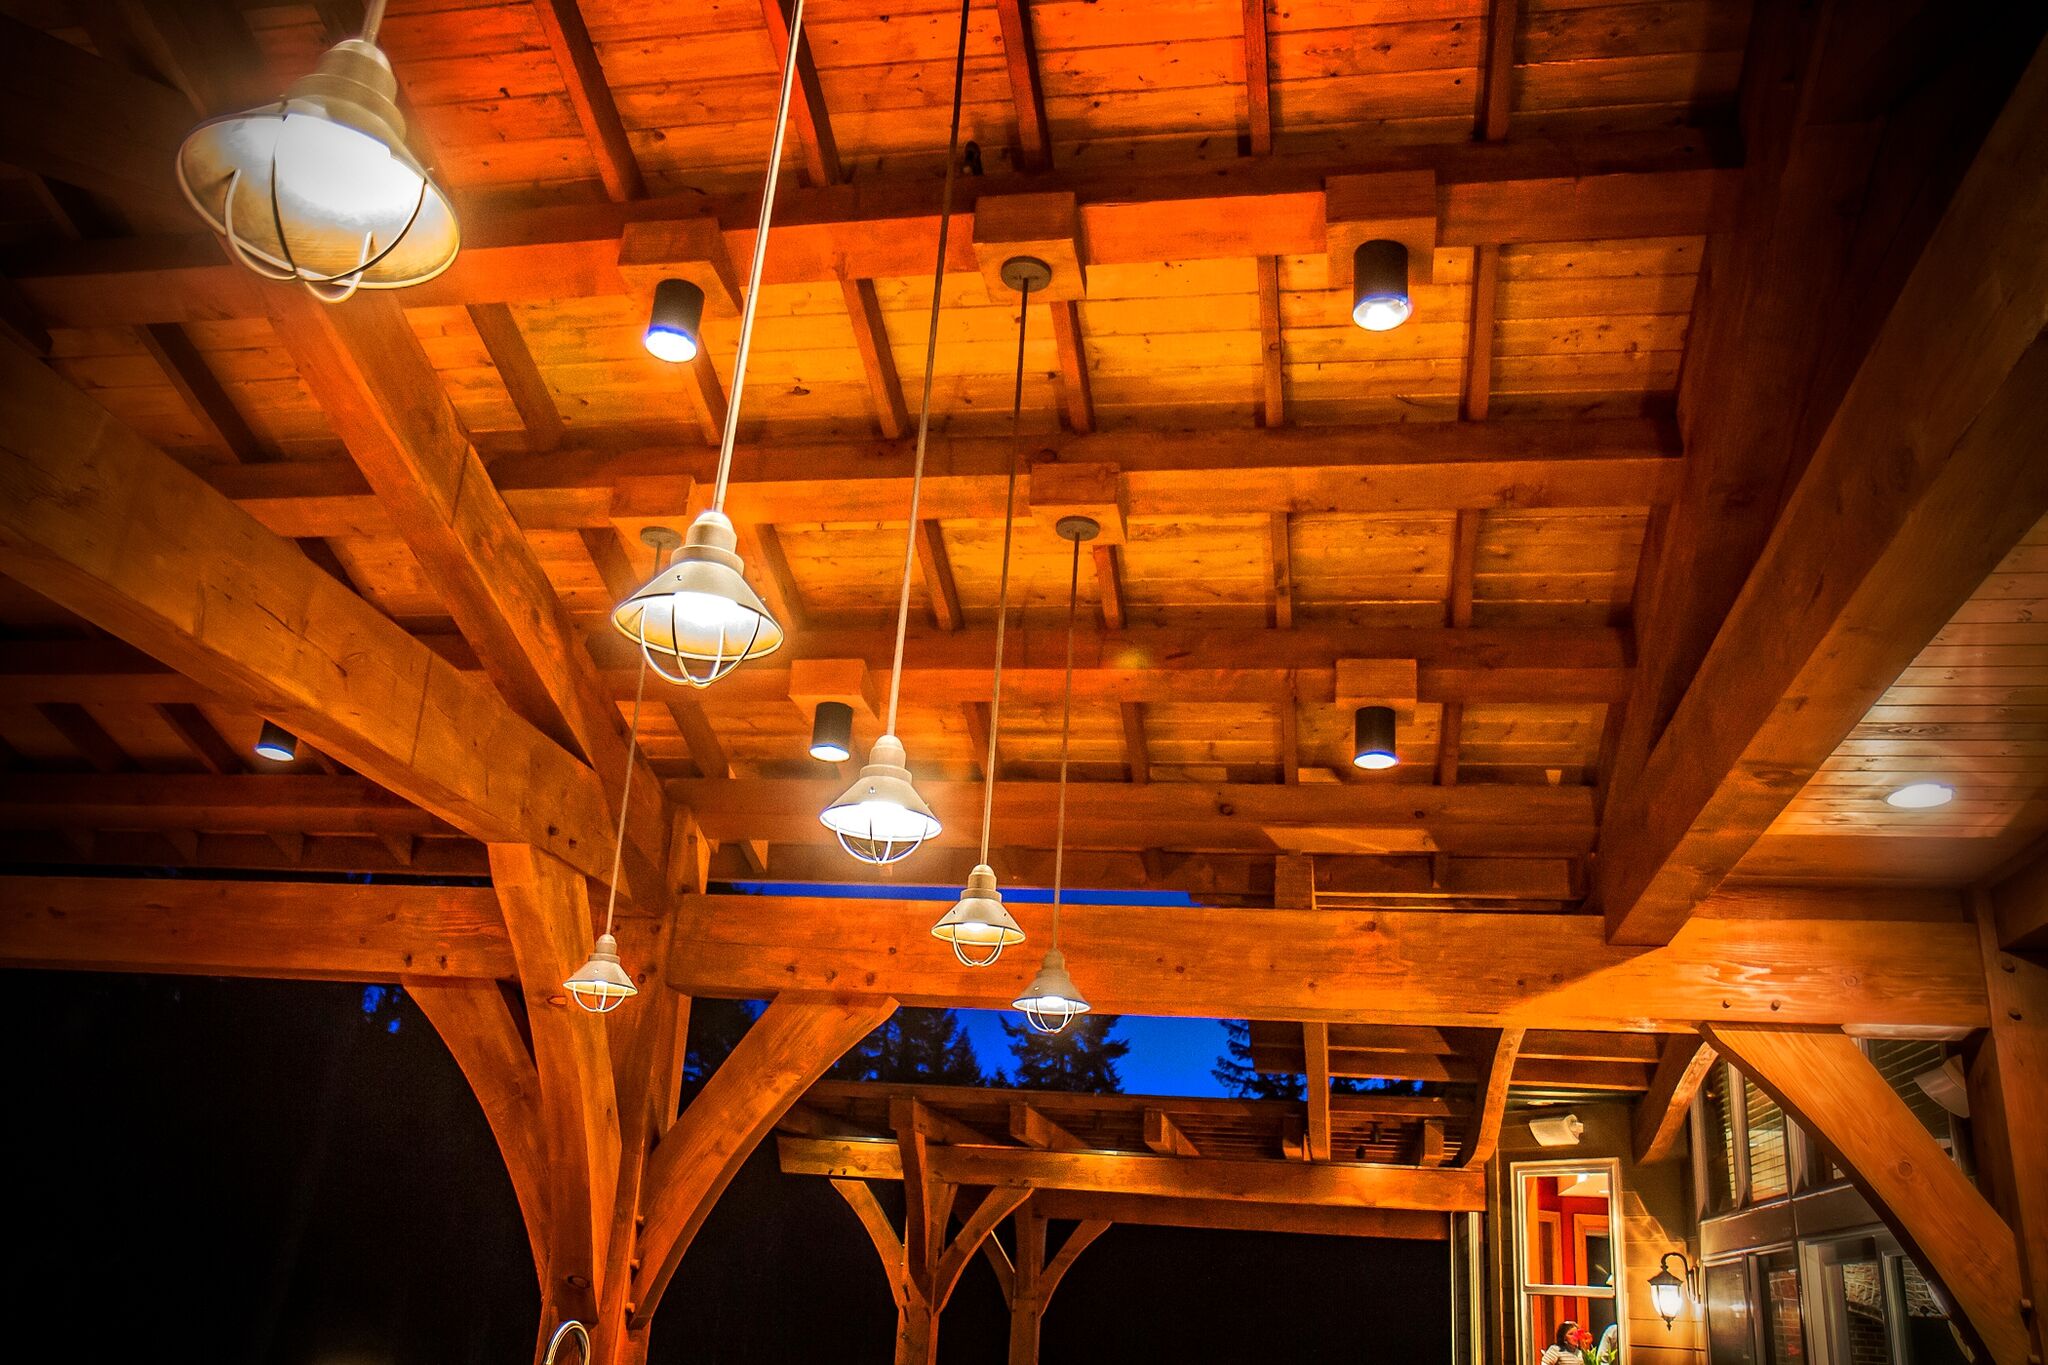
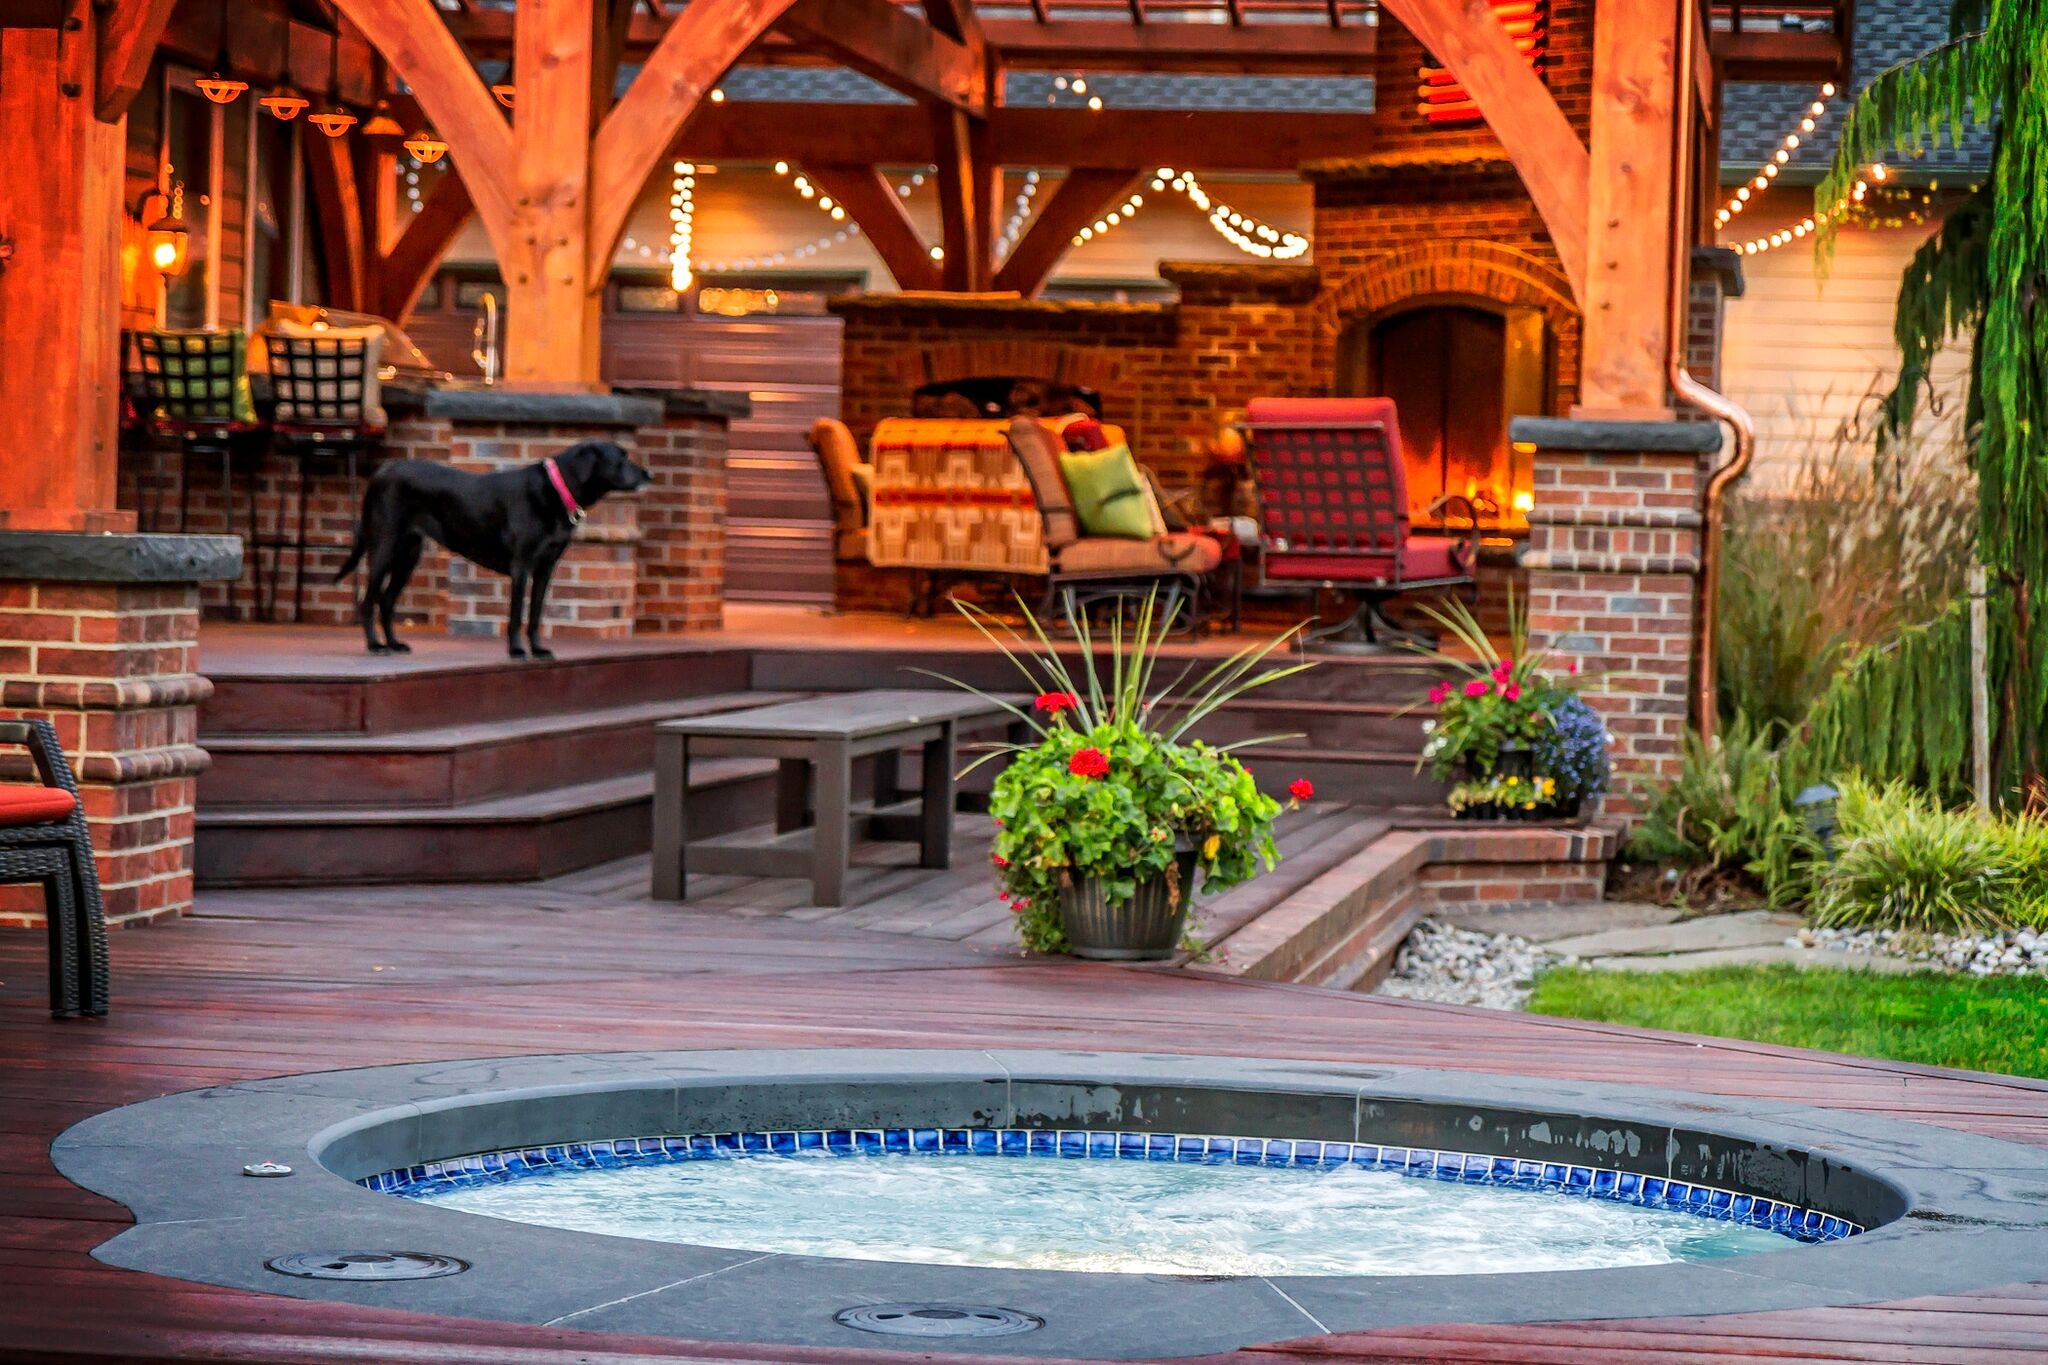
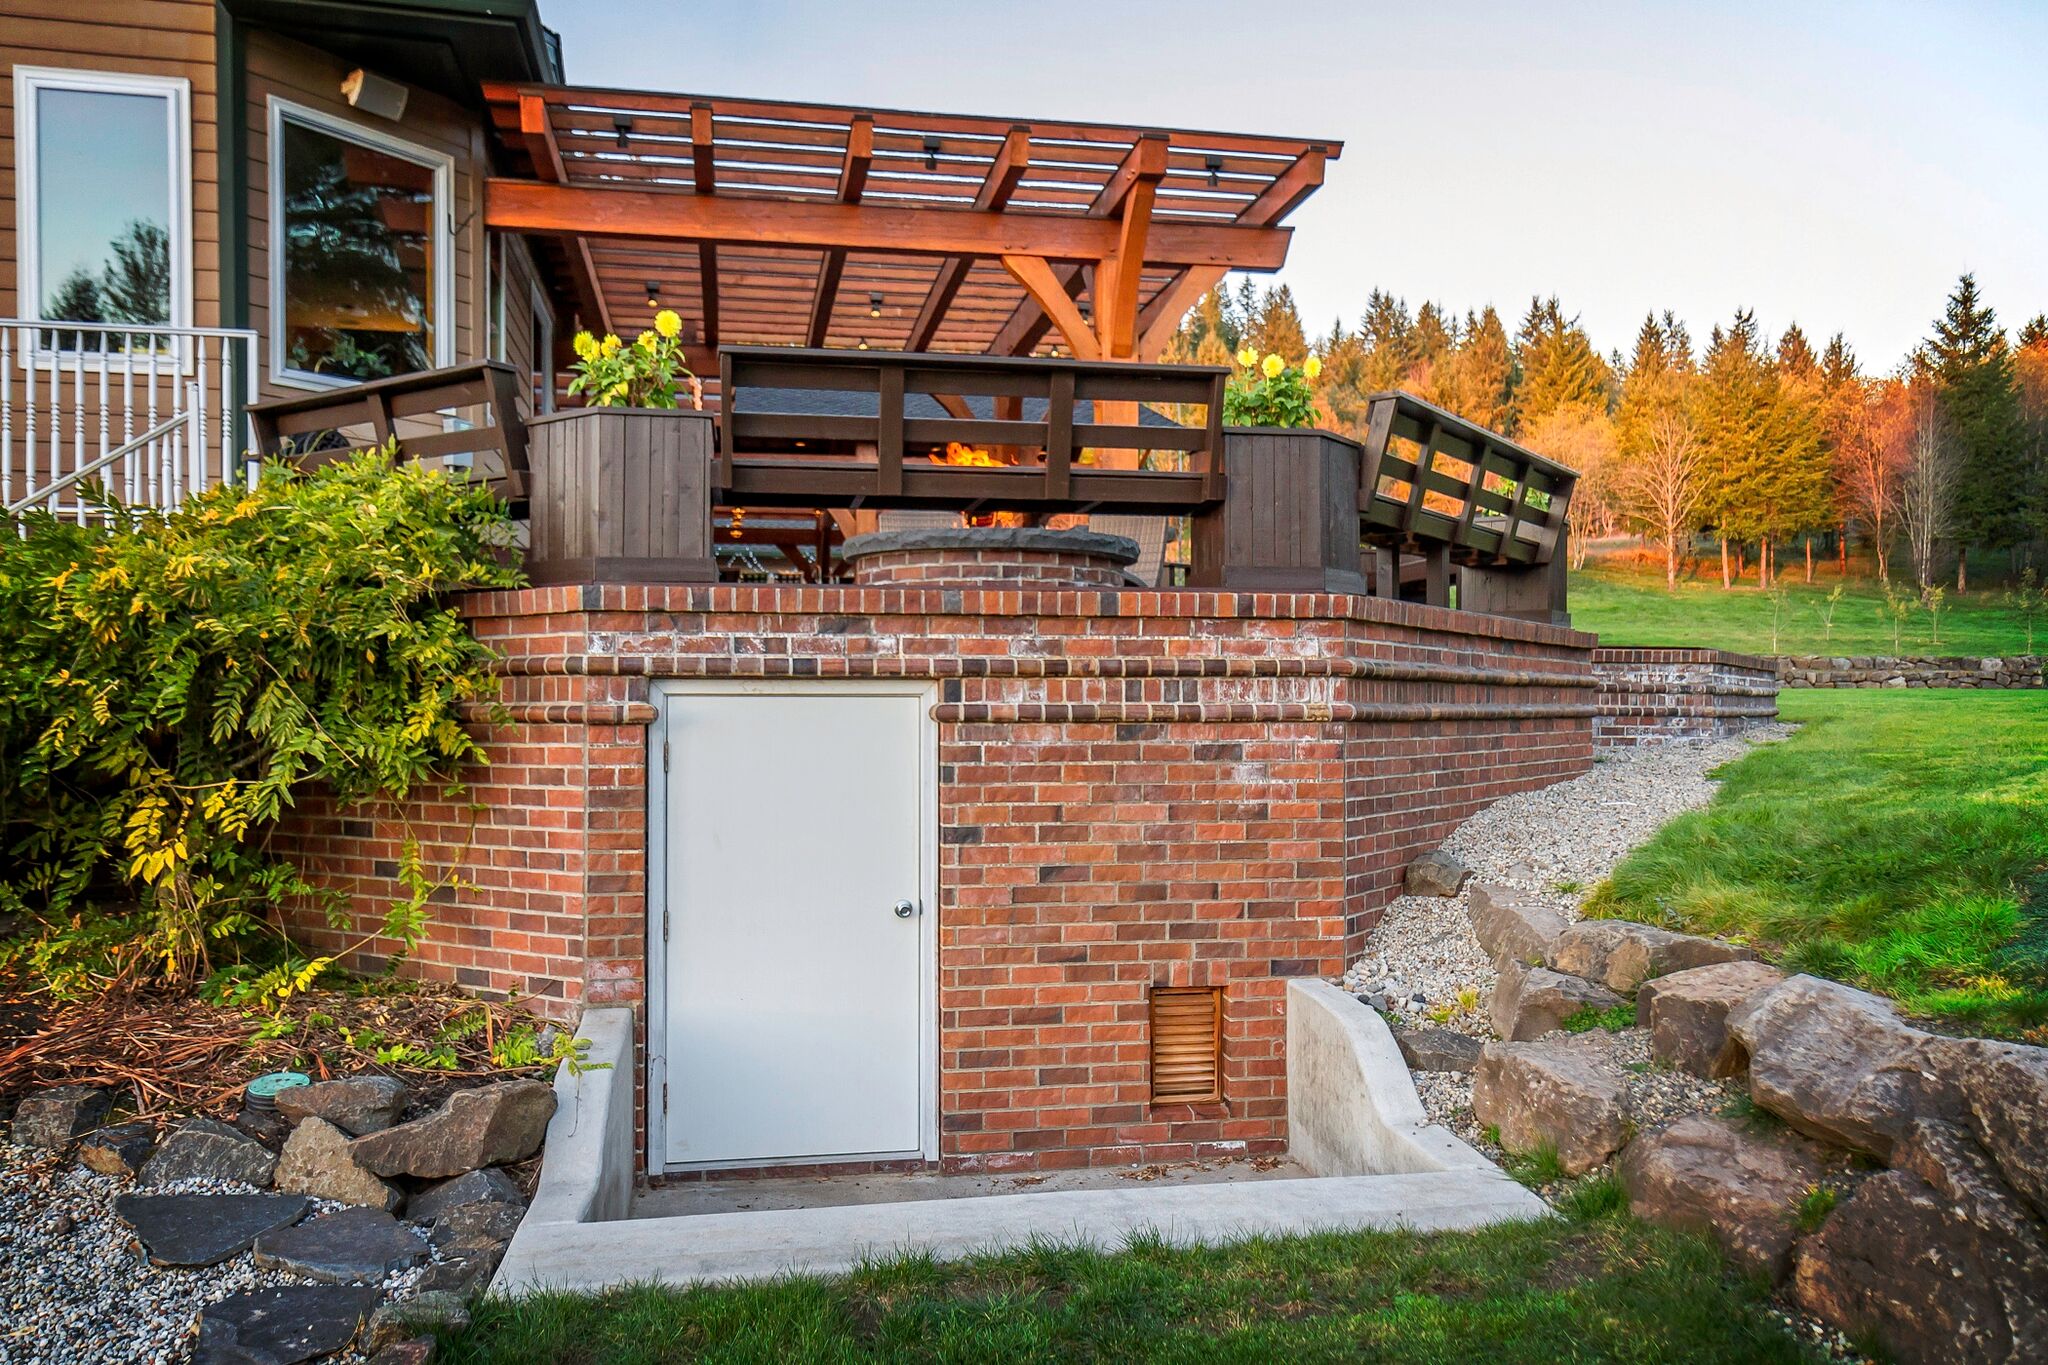
Sheretz Outdoor Area
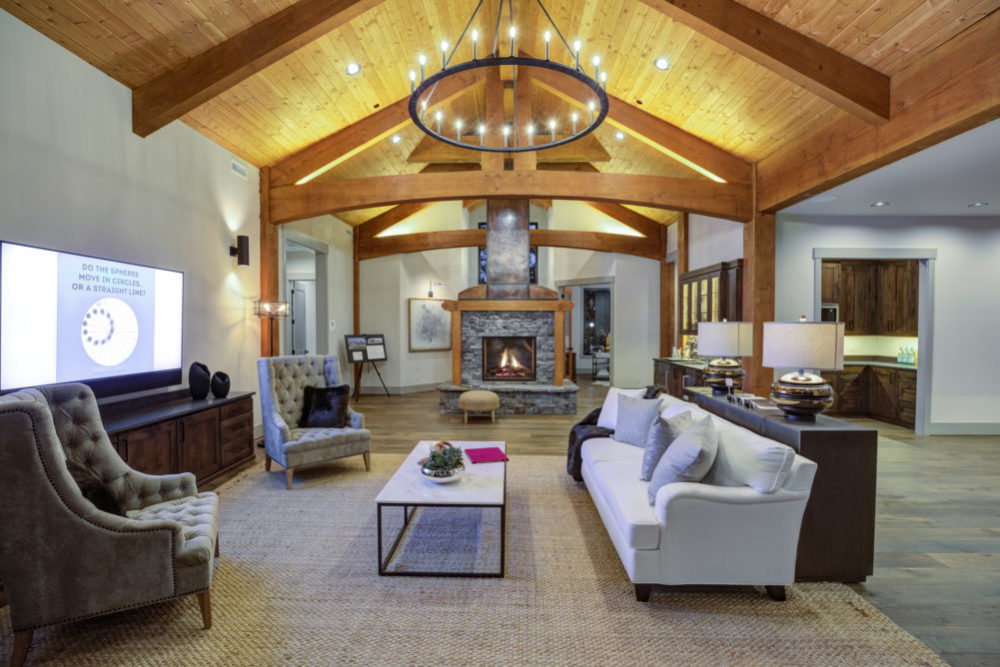
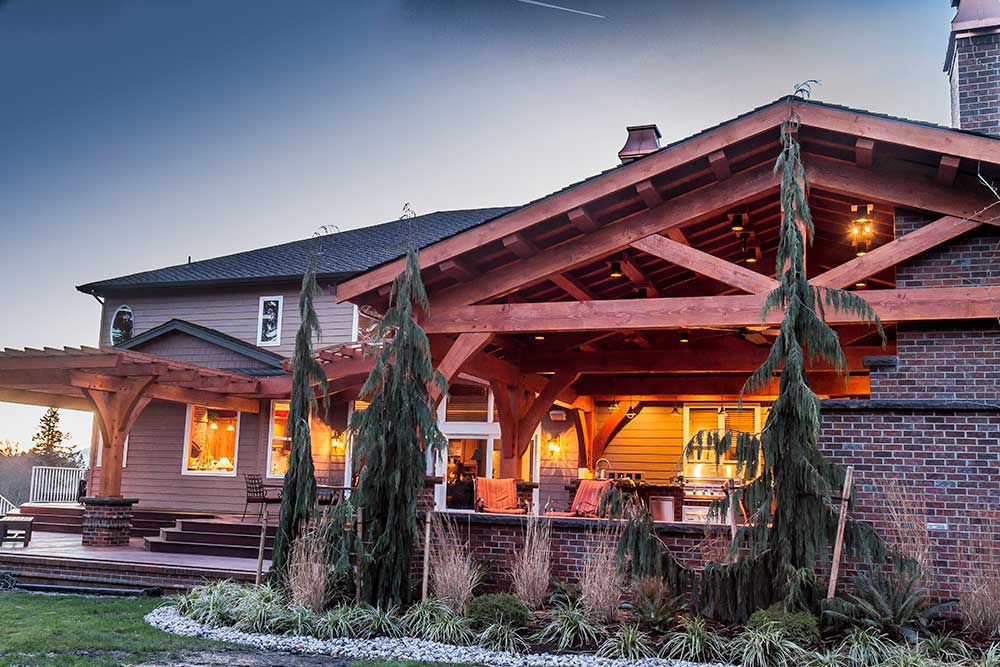
Gorgeous stained douglas fir timbers complete the look of the entire area.
Our Timber Frame Houses & Structures Portfolio shows the start of what's possible with design.
The Process:
Last summer I had the opportunity to design and build a unique outdoor living structure with a friend of mine, Garret Hergert.
Garret and I have done many projects together. Garret is a co-owner of GRO Outdoor Living (formerly G2 Outdoor Living and Kyne Landscaping), which focuses upon creating outdoor living spaces with a holistic approach.
Because of this creative approach, it is unfair to simply say, “GRO Outdoor Living is a landscaping company.” Perhaps Outdoor Architect is a term which better describes the custom service Garret offers. Let me tell you about how Garret and I worked with a local homeowner, Ms. Sherertz, to address important planning steps and ultimately construct an expansive outdoor living space to entertain large groups.
Step 1: Address Current Situation and Needs.
The story begins with Ms. Sherertz’s idea to incorporate an outdoor kitchen into her spacious back deck. She called Garret to start the process of interviewing design/build contractors who could understand her needs and provide creative solutions. Garret offered a handful of ideas and explained how he could help with the design process to get her ideas on paper, which could then be estimated for cost. When Ms. Sherertz was ready to move forward with her project, she chose GRO Outdoor Living, because she felt they were best qualified to deliver what she wanted.
Step 2: Brainstorm Idea Options. After the needs and goals of the project were established, Garret and Ms. Sherertz went to visit projects previously completed by GRO. During this time, they were also able to look at how they could landscape to join nature with hardscapes, such as concrete, decks, and structures. With that info, Garret and Ms. Sherertz explored 3 different concept ideas and eventually settled on one idea to develop further. Garret was pretty much given a free hand to work his “softscape” magic.
He ended up using a combination of Quaking Aspens, Alaskan Cedars, native ferns, and ornamental grasses to complete his vision.
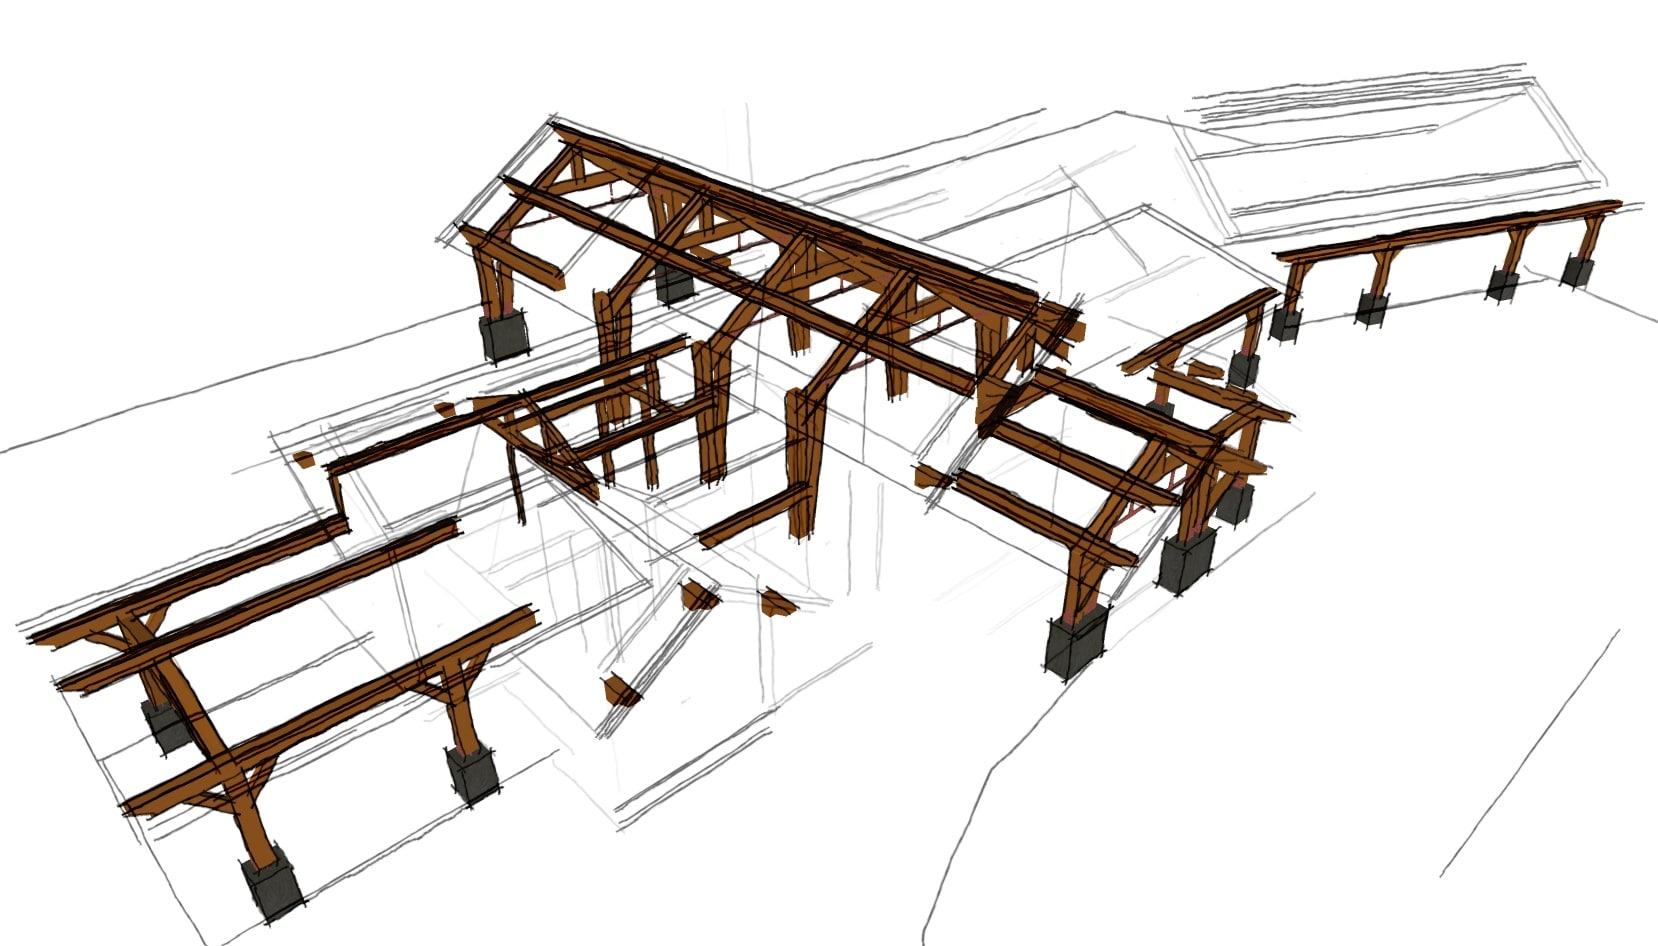
Once Garret had finalized the main concept, he and I got together to figure out the best way to design and build the structures required to transform this back deck into a multi-use outdoor living space. Among many details, we discussed the need for cover in front of a bank of two-story windows and doors. I promised to explore more ideas as we drafted the 3D model.
Nothing seemed to fit until we tried a long arched beam, which would connect the outdoor kitchen with the open trellis. Garret was ecstatic once he saw the pictures.
“That’s it! How long ’til you can have your model ready to present?”
Garret emailed pictures to Ms. Sherertz to get feedback. She was able to offer more input after viewing the 3D model. Her suggestions and ideas, such as extending the outdoor kitchen roof, were then addressed and communicated by phone and email. But of course, it was still far from done. Garret and I had to discuss many logistics and building details before we had an accurate estimate of the scope and cost for the project.
Step 3: Avoid the 2 Most Common Mistakes:
Ms. Sherertz and Garret decided against one large covered structure because it would have been an overpowering eyesore. They opted to create four distinct outdoor rooms instead. This also helped address convenience for both entertaining and usage for the guests.
As a side note, Garret and I use a relentless design process which does not stop until everything is right. If Ms. Sherertz had not liked the arched cover, for example, the process would have produced another balanced, good-looking option. Convenience was thought about from the very start. Convenience prompted the need for the arched beam roof, and because of convenience, features such as these were integrated into the project:
- An oversized cooking and serving bar
- A gas log starter
- An easy-access wood box
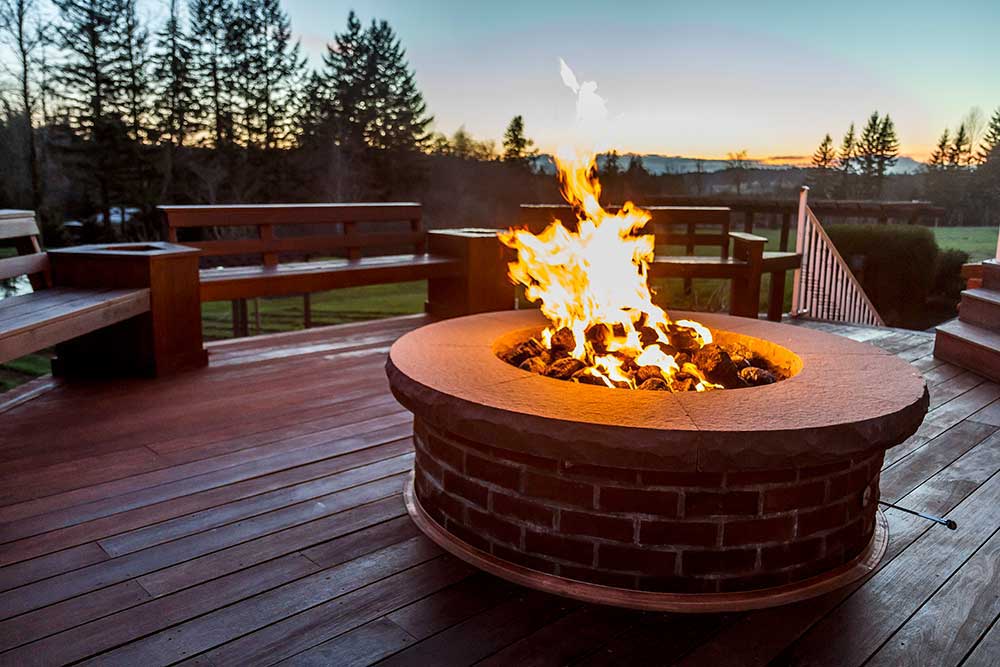
- A wide bench for enjoying the fire pit Multiple walkways and access points
- Refrigerator built into bar
Step 4: Ask Friends and Professionals for Their Opinions
Of course, Ms. Sherertz had shared her ideas and thoughts with her friends before things got rolling. Once the final design was closer, she also consulted her personal assistant and her children. While she had the ultimate authority, she was wise to ask for opinions. New ideas always turn up. Sometimes, new ideas forced Ms. Sherertz to clearly state why she preferred her choice. This is positive, as she then knew she would be happy with her choice after having consciously thought about the reasons why.
Step 5: Take Action!
This sounds easy, but the fear of a bad decision and regret can cause a lot of unnecessary worry. In Ms. Sherertz’s case, Garret and I had clearly communicated the end product she would get and earned her trust. So the decision to take action was only impeded by the price tag… only a fleeting inconvenience, if you compare it to spending less to get something you never like.
To your action steps!
– Bert Sarkkinen

Related Projects